How to Use Solar Panels at Home: From First Check to Clean Power
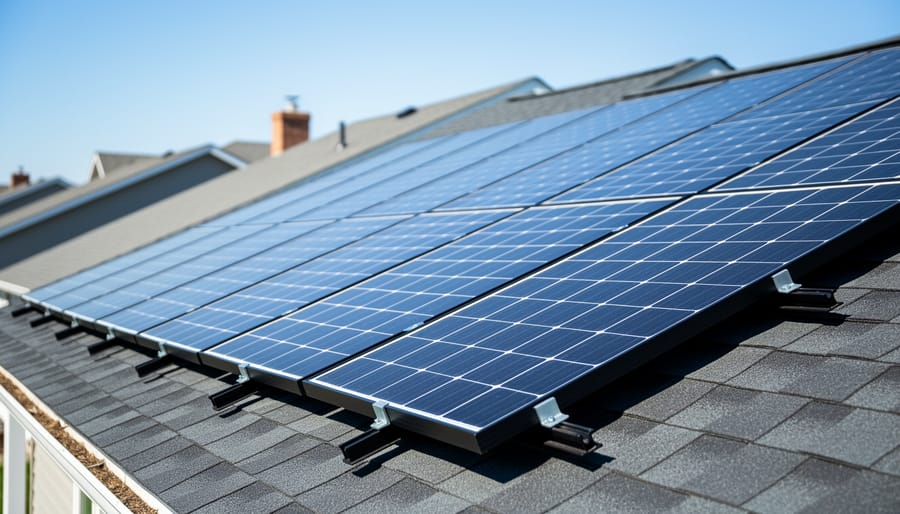
Using solar panels at home means getting a roof or ground-mounted system designed, installed, wired into your electrical setup, and then checking that it’s actually producing power. Most of the heavy lifting belongs to licensed professionals. Your job is the planning, the questions, and the follow-through, and that’s very doable for a beginner.
Why bother? Every kilowatt-hour your panels make is one less drawn from a grid that still leans on fossil fuels, and that matters given the growing climate change impact we’re all seeing. It can also trim your electric bill over time, and the federal Residential Clean Energy Credit has offered 30% back on eligible systems for homeowners who own their equipment.
Expect the process to take weeks to a few months from first quote to switch-on, mostly because of permits and paperwork, not the install itself. You’ll need a sunny, mostly unshaded spot and a roof in decent shape. Rules for connecting to your utility vary by location, so confirm those locally before you sign anything.
Below, we’ll walk through what you need, what’s safe to do yourself, the steps in order, and how to verify your system is working. We’ll also share a Pennsylvania case study and insight from a local environmentalist along the way.
How Home Solar Panels Work in Plain English
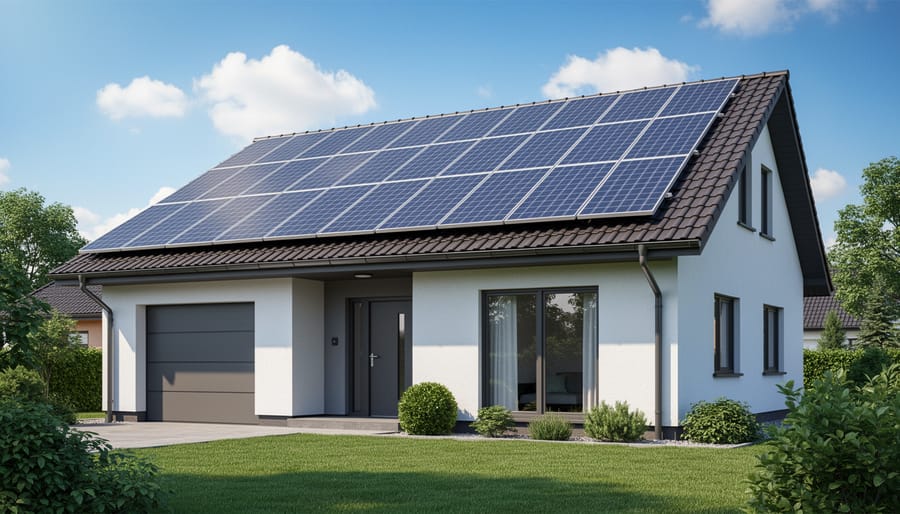
Solar panels are made of photovoltaic cells, which is just a fancy way of saying they convert light into electricity. When sunlight hits these cells, it knocks electrons loose, creating a flow of direct current (DC) electricity. No moving parts, no fuel, no noise.
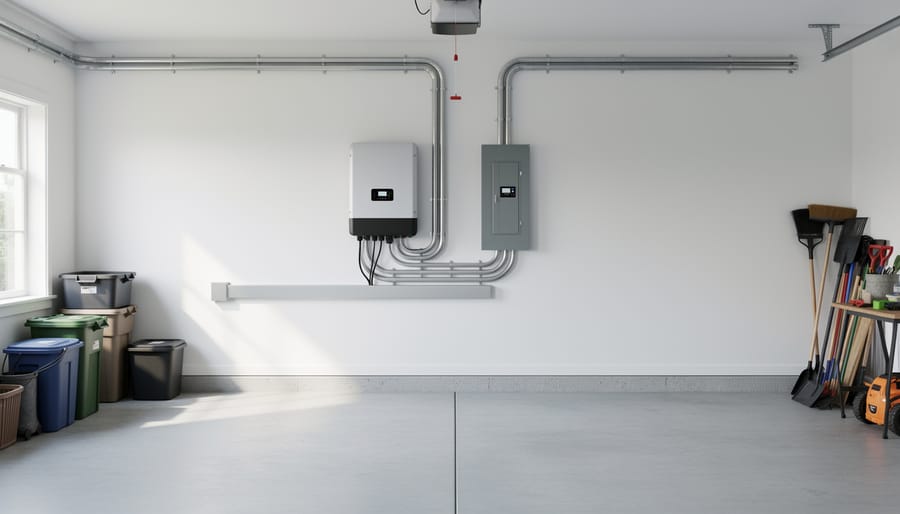
But your home runs on a different kind of power, called alternating current (AC). That’s where the inverter comes in. Think of it as a translator: it takes the DC electricity from your panels and converts it into AC power your lights, fridge, and phone chargers can use. Most inverters also have a display or app that shows how much power you’re making.
You’ll hear solar systems described in kilowatts (kW). One kilowatt is 1,000 watts of power, and it tells you how much electricity a system can produce at its best. Your electric bill, meanwhile, measures what you actually use in kilowatt-hours, which is power over time.
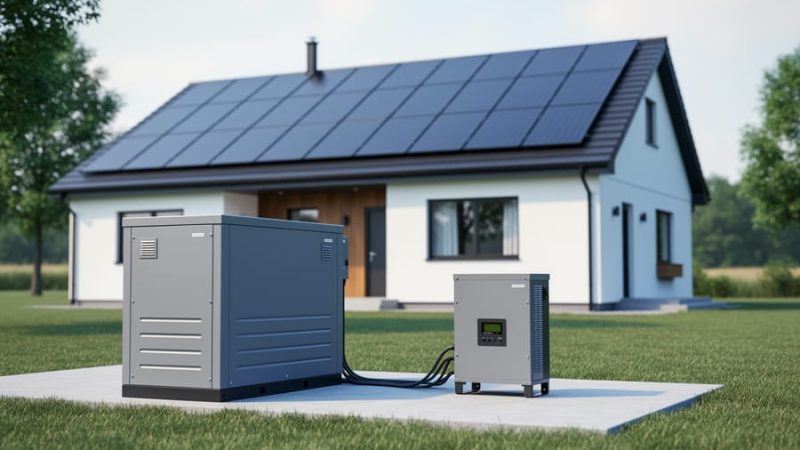
What happens if your panels make more than your home needs? Many utilities offer something called net metering, a general idea where extra power flows back to the grid and you may receive credit for it. Rules vary, so confirm the details with your installer and utility. If you’d rather store extra power yourself, battery storage holds it for evenings or outages.
And what about Pennsylvania’s gray days? Solar panels still produce electricity under cloud cover, just at a lower rate than on bright days. Our mix of sunny and cloudy weather doesn’t rule solar out. It simply means your system works with the sky you’ve got, and a good installer can help you set realistic expectations for your home.
Is Your Home Ready? What You Need Before You Start: Tools, Materials, and Preparation
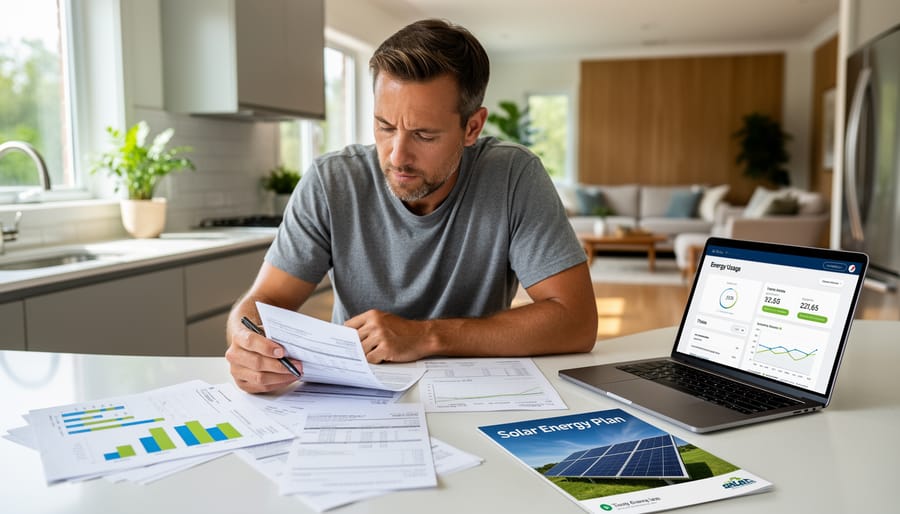
Check Your Roof, Sun Exposure, and Energy Use
Start with the roof. In the Northern Hemisphere, a south-facing roof usually catches the most sun, though east- and west-facing roofs can still work well. Tilt matters too, but most standard pitched roofs fall in a workable range. Stand outside on a clear day and notice how long direct sunlight actually reaches your roof, especially between mid-morning and mid-afternoon.
Next, hunt for shade. Trees, chimneys, neighboring buildings, and even a tall fence can cast shadows that cut down on production. Check at different times of day, and remember that winter shadows run longer than summer ones. Snap a few photos from the same spot each season so you can see the pattern.
Here’s where your garden comes in. That maple that looks small now will keep growing, so plan for trimming before panels go up. Think about pergolas, trellises, greenhouses, and tall raised-bed supports, too. If they sit between your roof and the sun, move or lower them, or put your sunniest spots to work for panels instead.
Then look at roof condition. Curling shingles, soft spots, or a roof near the end of its life should be repaired or replaced first, since panels can last for decades.
Finally, grab your electric bills. Find the usage figure, measured in kilowatt-hours (kWh), the standard unit of electricity use. Gather twelve months of bills if you can. Seeing how your use climbs in summer or winter helps you and your installer match a system to your real needs.
Decide Between Roof-Mounted and Ground-Mounted Panels
Most homes end up choosing between two layouts: panels on the roof or panels on the ground. Neither is better across the board. It comes down to your property and your priorities.
Roof-mounted panels are the common choice. They use space you’re not using anyway, and they sit up high, which can help them clear shade from trees or neighboring buildings. They suit homes with a sturdy, sun-facing roof in good condition. If your roof is old, you’ll want to sort out repairs or replacement first, since it’s far easier to fix before panels go on.
Ground-mounted panels stand on a frame in your yard, so they work well when your roof is heavily shaded, awkwardly shaped, or simply not ideal. They’re also easier to reach for cleaning and checkups. The trade-off is that they take up yard space, so think about how that fits with your garden beds, play areas, and views. A sunny corner away from tall trees is usually a good candidate.
Garages and other outbuildings can be a handy middle ground. If the main roof doesn’t work, a detached garage with a clear southern exposure might.
Whichever you lean toward, a qualified installer can confirm what’s practical for your site.
Safety Warnings and When to Stop and Call a Professional
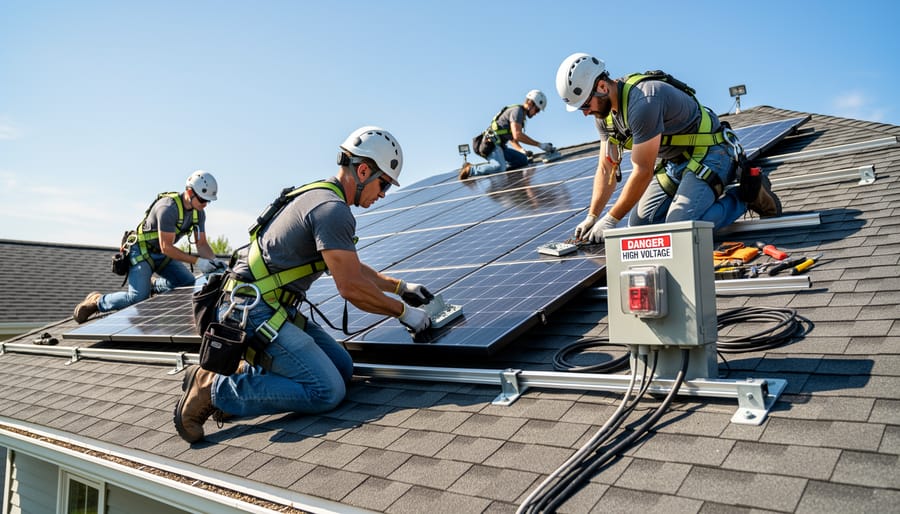
Solar is a friendly project, but it asks you to respect two serious hazards: electricity and heights. Knowing where your role ends keeps the whole thing safe and stress-free.
Start with what you can do yourself. You can observe how sunlight moves across your roof and yard through the day, note which trees or structures cast shade, gather a year of electric bills, and measure the open space you might use for panels. You can also plan, ask questions, compare quotes, and later monitor your system’s output through an app or display. None of that puts you at risk, and it makes you a sharper customer.
Everything else belongs to licensed professionals. That means climbing onto the roof, mounting equipment, running and connecting wiring, and tying the system into your home’s electrical service and the grid. Falls from roofs are a leading cause of serious home-improvement injuries, and electrical mistakes can cause shocks, fires, or damaged equipment.
Here’s the part that surprises many people: solar panels make electricity whenever light hits them. There’s no off switch on the panel itself, so wires attached to it can be live in daylight even when your house is calm and quiet.
Know your stop conditions, too. Pause and call a professional if you notice any of the following:
– Damaged, sagging, or leaking roofing
– Wiring you can’t identify or that looks frayed, scorched, or exposed
– Any step that would require opening your main electrical panel
– Water near electrical equipment, or a burning smell
– Uncertainty about whether something is safe
When in doubt, stop. Asking a pro costs a little time, and it protects you, your home, and your family while you enjoy clean energy for years to come.
Step-by-Step: Putting Solar Panels to Work at Your Home
Choosing an Installer and Comparing Quotes
Picking the right installer matters as much as picking the panels. Start by confirming that any company you consider holds the licenses your state requires for electrical work, and ask for proof of insurance. A reputable installer will hand these over without fuss.
Next, look for local experience. Crews that have worked in Pennsylvania before understand how to handle regional roof styles, weather, and the permitting process. Ask for references from recent customers, and if you can, talk to a neighbor who has gone solar. Hearing what the experience was really like, including the follow-up after installation day, tells you more than any brochure.
Then gather at least three written quotes. A strong proposal spells out the equipment being used, the system size, what is and isn’t included, the timeline, and how permits and utility paperwork will be handled. Be wary of vague estimates or pressure to sign on the spot. If a quote leaves out details, ask for them in writing.
Don’t skip the warranty. Ask separately about coverage for the panels, the inverter, and the workmanship, and how long each lasts. Also ask what happens if the company closes down, since that’s a real concern for long-term equipment.
Because the federal credit only applies to systems you own, confirm that your proposal is for a purchase rather than a lease, and ask your installer to give you itemized receipts and documentation you’ll need for IRS Form 5695.
Pennsylvania-based environmentalist interview placeholder: add a short Q&A here asking a local solar advocate which three questions every homeowner should put to an installer before signing.
From Installation Day to Switching On
On installation day, expect a crew to arrive with the panels, racking, wiring, and inverter, and to work for a day or a few days depending on the size of your system. You usually don’t need to do much besides clear access to your roof, driveway, and electrical panel, and keep kids and pets well away from the work area.
Once the installers finish, the work isn’t done. Your system will typically need an inspection, often by your local building or electrical authority, to confirm everything was installed safely and to code. Your installer should handle the scheduling, but it’s fine to ask where things stand.
Here’s the part that surprises many homeowners: a finished system is not a switched-on system. Your utility may need to review and approve the connection before you can run it. Until you get that go-ahead, keep the system off and leave the disconnect switch alone. Operating it early can create safety risks for you and for utility workers.
Because approval steps vary from place to place, confirm the specifics with your installer and your local utility. Ask what paperwork is needed, who submits it, and how you’ll be told the system is cleared. Once you get that green light, your installer will switch it on, and your home starts making its own clean power.
Key Details on the 30% Federal Solar Tax Credit
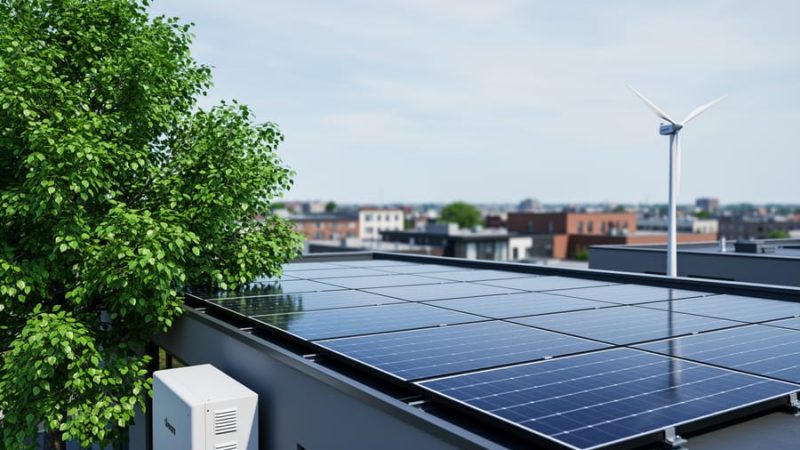
The federal government offers one of the biggest financial boosts for going solar: the Residential Clean Energy Credit, found in section 25D of the tax code. In plain terms, it lets you subtract 30% of your qualifying solar costs from the federal income tax you owe. The credit covers both the equipment and the cost of installing it, and it also applies to other clean systems like wind turbines, geothermal heat pumps, fuel cells, and battery storage of 3 kWh or more.
A few ground rules decide whether you qualify:
– You must own the system. Leased panels don’t count.
– The credit applies to your primary home and to a second home in the U.S.
– Used or refurbished systems aren’t eligible.
– If more than 20% of your home is used for business, you’ll need to prorate the credit.
– Any rebates or subsidies you receive must be subtracted from your costs before you calculate the 30%.
The timing matters too. The credit applies to systems made operational by December 31, 2025, so don’t assume it’s still available just because you’ve read about it. Before you count on this money in your budget, confirm your current eligibility with a tax professional or the IRS.
When tax time comes, the paperwork is straightforward. You’ll file IRS Form 5695 along with supporting documents, including your receipts and the certifications for your equipment. Ask your installer for a clear, itemized invoice, and keep digital and paper copies somewhere safe. Good records make filing painless and protect you if questions come up later.
Every home that goes solar also contributes to cleaner communities across our state, and a tax credit can make that step feel a lot more within reach.
Verifying Your System Works and What to Do Next
Once your panels are switched on, the fun part begins: watching them work. Start with your inverter display or monitoring app, which shows how much power the system is producing in real time. Check it on a bright midday and again on a cloudy one, so you know what normal looks like for your home. Over the first few months, compare the production numbers against your utility bills. If your bills drop and your app shows steady output, your system is doing its job. A sudden, unexplained dip is your cue to call your installer, not to climb up and investigate yourself.
Day-to-day upkeep is refreshingly simple. Keep an eye out for leaves, bird droppings, or snow buildup, and trim nearby branches before they start casting shade. Garden plantings matter too, since a fast-growing shrub or trellis can quietly creep into your panels’ sunlight. Schedule a periodic professional check, and let the pros handle anything on the roof or involving wiring.
Here’s a local example of how solar can ripple through a neighborhood. In Pennsylvania, some households and community groups have organized shared solar efforts, where neighbors pool their interest so more people can benefit from clean power. The details vary from project to project, so talk with your installer or local sustainability group to see what’s happening near you. What stands out in these stories isn’t a single number but the momentum: one early adopter answers questions over the fence, and soon the street is curious.
Once your system is humming, you can build on the win:
– Cut waste first. Efficiency upgrades like better insulation, LED lighting, and smart thermostats mean every solar-made kilowatt-hour goes further.
– Consider battery storage. Adding a battery can store extra power for evenings. If you’re curious about going fully independent, our guide to off-grid solar explains how storage fits in.
– Keep the momentum going. Pair your panels with everyday habits, and our sustainable tips can help you build a greener routine.
– Share what you’ve learned. Invite neighbors to see your monitoring app and swap installer recommendations.
Frequently Asked Questions About Home Solar Panels
A few questions come up again and again when people start thinking about solar. Here are straight answers, drawn from what we’ve covered above.
Can I install solar panels myself?
Roof work, electrical wiring, and the grid connection should be handled by licensed professionals, because of the shock and fall risks involved. What you can do yourself is the planning: reviewing your electric bills, observing shade, and checking your roof’s condition.
Do solar panels work in cloudy weather?
Yes. Panels still make electricity when the sky is overcast, just less of it than on a bright day. Pennsylvania’s mix of sunny and cloudy days doesn’t rule solar out.
Do I need to own my home to claim the federal tax credit?
You need to own the solar system rather than lease it. The 30% Residential Clean Energy Credit applies to primary and secondary homes in the U.S., and used or refurbished systems aren’t eligible.
What paperwork should I keep?
Hold on to receipts and any certifications for your equipment and installation, since you’ll need them when you file IRS Form 5695. Keep your signed proposal and warranty details too, plus a record of any rebates, which must be subtracted from your costs before the credit is calculated.
Two more questions deserve a quick word. On power outages, don’t assume your panels will keep the lights on. A standard grid-connected system may shut down for safety, and backup power typically depends on how the system is designed, such as adding battery storage, so ask your installer exactly what your setup will do.
As for whether your roof is right for solar, look at which way it faces, how much shade falls on it from trees or nearby buildings, and the condition and age of the roofing. If the roof needs repairs soon, it’s smart to sort that out before panels go on. A qualified installer can confirm the details during an on-site visit.
One last note: rules around net metering and interconnection vary, so we haven’t spelled them out here. Confirm those specifics with your installer and your local utility before you commit.
Using solar panels at home really does come down to a handful of manageable steps: look at your roof and your energy use, choose a qualified installer, let the professionals handle the wiring and utility approval, then watch your system’s output and keep it clear of debris. None of it needs to happen all at once.
The best place to begin is also the easiest. This week, glance at your roof’s direction and shade, then pull out a few electric bills and see how much power you actually use. That small bit of homework tells you almost everything you need for your first conversation with an installer.
Every Pennsylvania rooftop that turns sunlight into power helps cut pollution, and cleaner air and water help to protect wildlife across our woods and waterways. Your home can be part of that change, one sunny day at a time.